Hummingbird Wall Panel – A Machine Embroidery Course
Upon booking this online course I will post out the materials required to make up the Humming Bird Linen Panel with free machine embroidery. The instruction and five videos will all be accessed right here on the website any time you like from date of purchase.
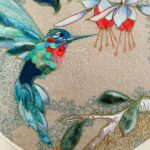
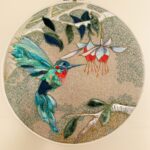
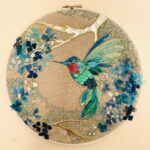
I will take you through step by step how I approach such a textile project. Participants will achieve a beautiful machine embroidered wall panel designed to go in a 10-inch hand embroidery hoop to be mounted on the wall or within a boxed frame. In this instance the hoop is purely for decoration as all the embroidery itself is done on machine without the use of a hoop as the fabric used is stable enough. I will send you the linen, paint and fabrics but there are some essentials you will need to have access to and these are listed under the Requirements tab.
There are a choice of two backgrounds – the Fuchsia or Blossom, and whilst everyone who books on the project, will be working on the same humming bird template, the course is really about what you will learn on the way. The course covers composition , application of paint and appliqué, free motion stitch techniques and design transfer with the use of heat and bond. If you wish, you can change up the design , add elements of your own and move around the leaves and branches to make it more unique to you.
The course is designed for those with some free machine embroidery experience. Email me if you would like to chat over.
1 left in stock
The course covers:
Composition with the motifs provided.
Template Design Transfer with the use of Stitch N Tear.
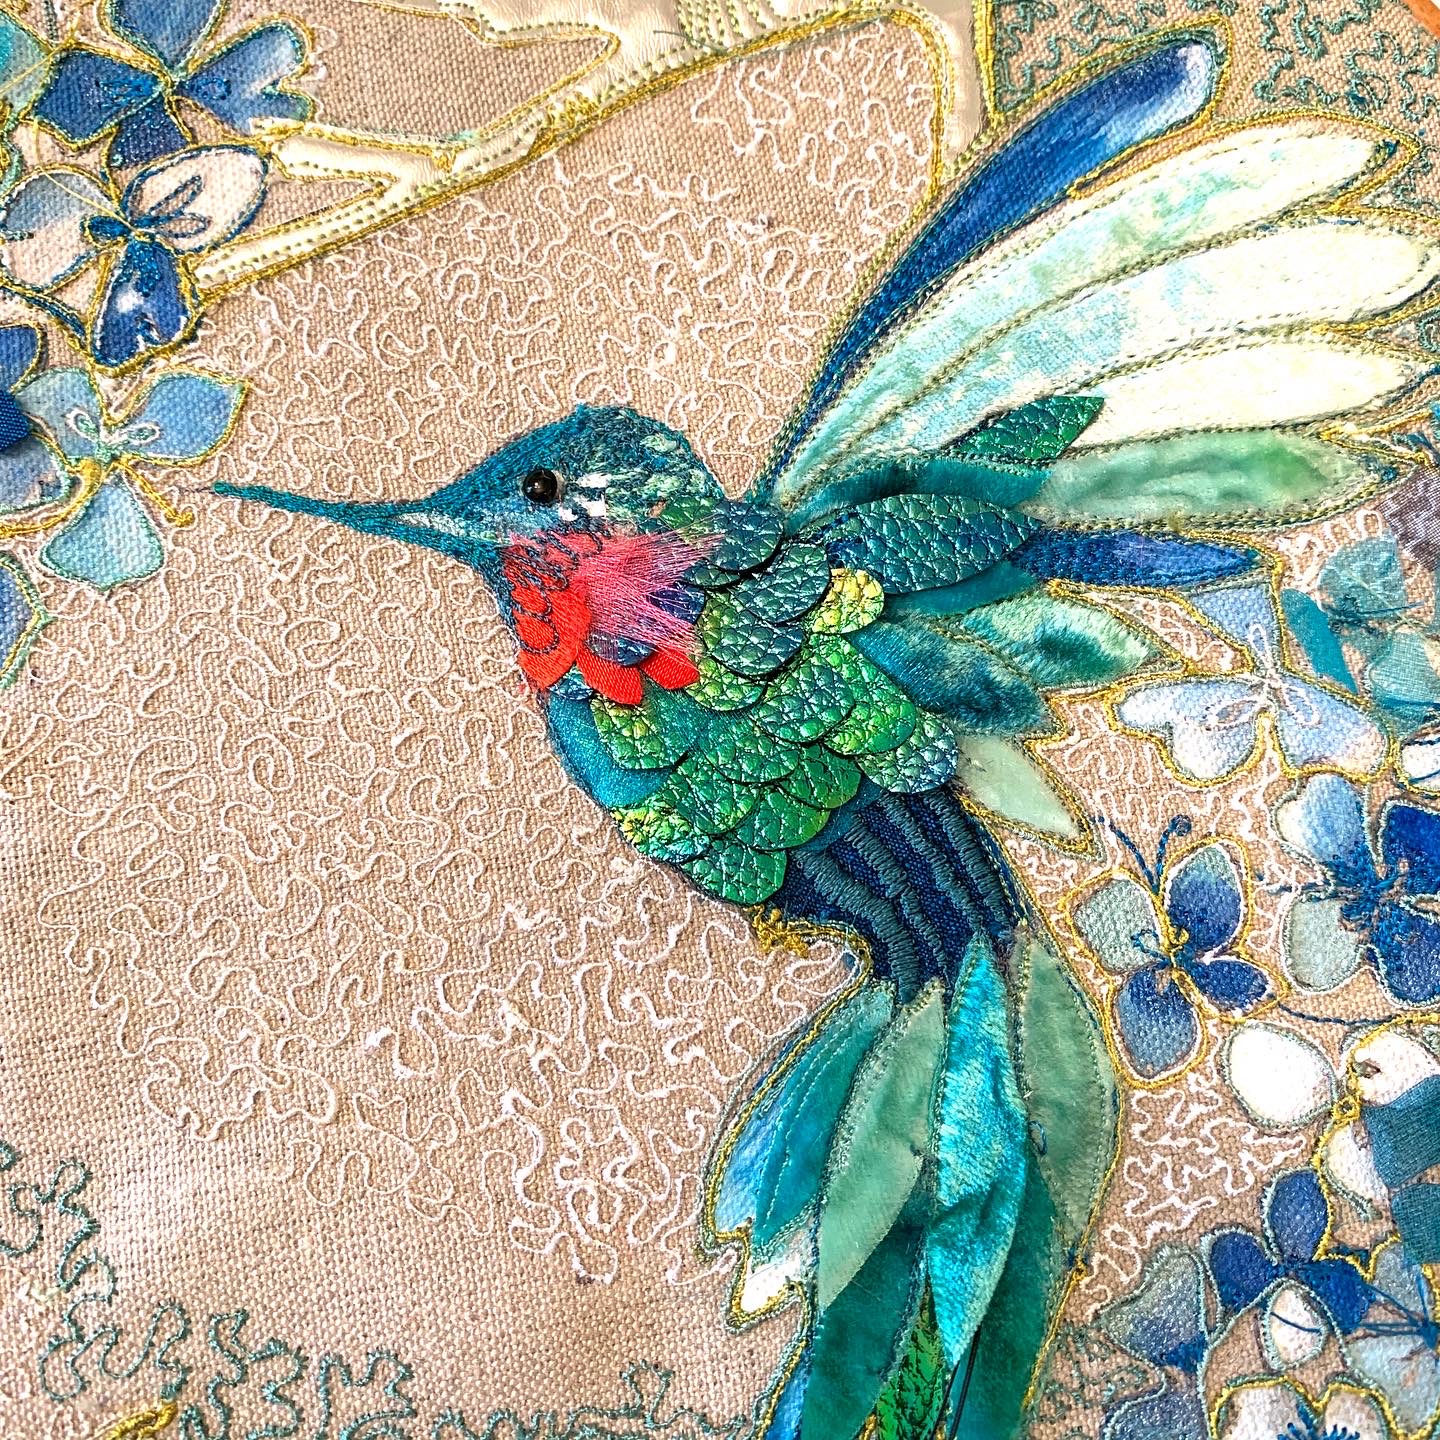
Machine Applique with Heat and Bond and fabric manipulation to achieve 3D effects.
How to achieve textural machine stitching with Vermicelli stitch and satin stitch with the free motion foot.
Application of paint on linen using White Acrylic/Gesso to provide a base.
If you have chosen the blossom design you can use a soldering tool to achieve precise flower motifs. You do not have to use the soldering tool – if you haven’t got one, scissors are sufficient to cut out the flowers.
Supplied in the Project Box:
Hummingbird, Flower and Branch Templates (A. Waylett Designs)
Included in the box are a choice of either Blossoms or Fushia. You can choose which templates you use to surround the bird.
Heat and Bond
Stitch N Tear
Silver Leatherette for the branches.
Blue silk for body.
Turquoise and blue sheers for 3-D flowers.
Red silk for Fushias and hummingbird chest.
Metallic green leatherette for hummingbird body.
Two pots of acrylic paint –, sea green metallic and sapphire metallic.
Hand dyed velvet in mint and sea green for the wings/leaves.
Greystone Linen for the base fabric. You can use cheaper, but this is my favourite and can be purchased from Whaley’s for future projects.
What you will need to supply:
A 10-inch hoop to display – or a 10-inch circular template to draw around.
Machine with Free motion foot.
Gutterman Textile glue .
Small amount of white acrylic or gesso.
Cocktail stick or pin for applying glue.
Very fine brush for painting flowers and wings.
Machine Embroidery Threads in various blues of your choice. I have also used a gold/green for highlighting and an off white for some of the background vermicelli.
You will need several bobbins.
90/14 machine needle and Pins
Embroidery scissors.
Biro
Hand sewing needle.
Soldering tool and glass mat and machine embroidery hoop (if doing the blossom flowers)
Black bead for Hummingbird Eye
Tail Feathers (try Ebay)
I have used predominately blues in both designs with the accent of red for his chest but there is no reason why you can’t change up the colours from your own stash if you wish.